

If you are thinking about owning a personal or commercial media server with a dedicated hardware configuration in a very efficient way, then you are in the right place. The Xbian is the most lightweight Operating system that you can install inside your Raspberry Pi board. Actually, the Xbian is mostly an embedded media player with an Operating System. The Xbian is also known as KODI, which is developed by the X-Box Media Center foundation.
XBian on Raspberry Pi
As the Python programming language is always installed by default inside the Raspberry Pi boards, so it will be very much easy to run an Operating System that can be integrated with the Raspberry Pi functions conveniently. No doubts that the XBian OS is the most famous and insubstantial Operating System for the Raspberry Pi Board. In this post, we are going to see how to install the XBian on your Raspberry Pi Board.
Step 1: Downloading the XBian Image File
The very first step to install the XBian on your Raspberry Pi board is to download the proper XBian image file. Later we will be using an image burner tool to make the image bootable. To download the XBian image file, you can simply visit the official website of XBian; under the download menu, you will find the image file. Try downloading XBian for Raspberry Pi. You can choose the download version according to your Pi board.
01: Downloading the XBian Image File
The very first step to install the XBian on your Raspberry Pi board is to download the proper XBian image file. Later we will be using an image burner tool to make the image bootable. To download the XBian image file, you can simply visit the official website of XBian; under the download menu, you will find the image file. Try downloading XBian for Raspberry Pi. You can choose the download version according to your Pi board.
02: Downloading the Etcher Tool
Among all the image burner software available on the web, the Etcher is the most powerful and handy tool to burn the XBian image file. From the Etcher tool, you can either choose the image file from your notebook or desktop storage, or you can also just provide the download link of the image file, the Etcher tool will download and burn the XBian image file automatically.
Follow the instructions to download and install Etcher inside your Linux machine. If you are using the Debian or the Ubuntu Linux, you can download the .deb file and install the Etcher from Ubuntu Software. Here you will also find the .rpm files if you are using the Fedora, CentOS, or the SUSE Linux distributions.
You can also add the repository files on your Linux and install the Etcher using the following terminal commands.
$ sudo apt-key adv --keyserver keyserver.ubuntu.com --recv-keys 379CE192D401AB61
$ sudo apt update
$ sudo apt install balena-etcher-electron
03: Burning the XBian OS for Raspberry Pi
As I have mentioned previously, Etcher is the most handly and functional tool to burn the XBian image file, so to make the XBian bootable first insert an SD card inside your desktop, then open the Etcher tool. Now from the image selection tool, select the XBian image file from your disk. Mostly the XBian image file comes in a compressed zip version.
Then, the USB drive will be automatically selected in Etcher. Now click the Flash button. That’s all you needed to do! The rest of the work will be done automatically. Once the bootable XBian image is ready, eject your USB and insert the SD card inside the Raspberry Pi board.
04: Getting Started With the XBian on Raspberry Pi
After inserting the bootable SD card inside your Raspberry Pi board, power up the Pi board. It will automatically detect the XBian image and load the files from the SD card. Installing XBian is very much quick and simple. You will find some installing menu for further instructions.
You may ask to enter a license key; you can skip this part and jump to network configuration. Select your WiFi, or you can also choose the Lan cable option to get your XBian up to date with third-party applications. You will also get options to backup your XBian system. Or you can also restore XBain OS if you have a previous XBian backup.
At the very beginning of installing the XBian on Pi boards, you may ask for the user name and password of the XBIan. Here, the default username and password is given for you.
Username:  xbian
Password:  raspberry
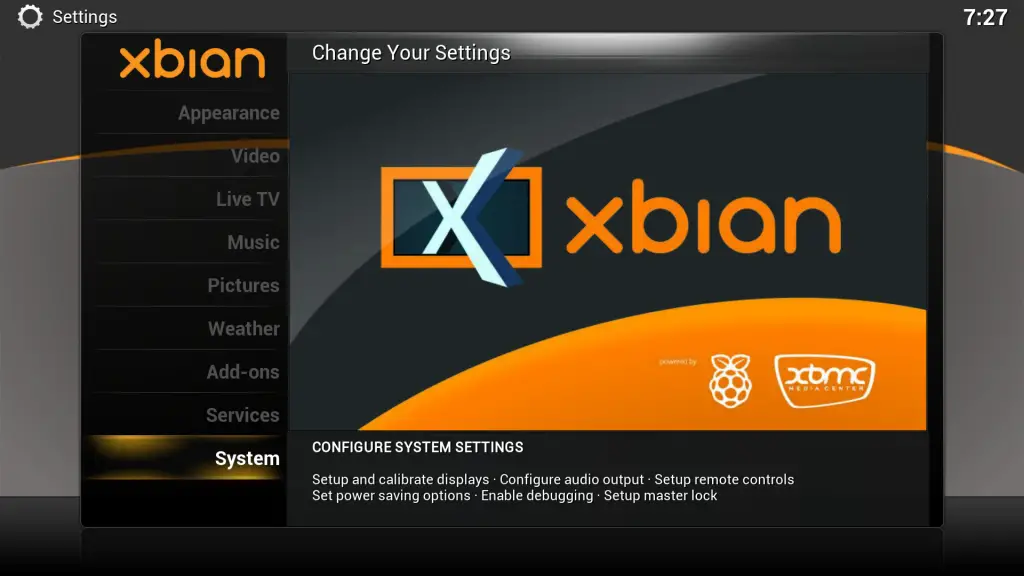
You may find your screen resolution is not perfect at the initial stage of installing the XBian OS. You can fix the screen resolution from the Display Settings, under the System Settings option. After everything is done perfectly, you will get your XBian OS ready within a few minutes. Yes, that it is, as simple as that.
Problems You Might Find
While installing the XBian OS on your Raspberry Pi board, I’m afraid you may find a couple of issues functioning not properly. But don’t worry, here are some primary solutions for yours.
While you are trying to get a fresh install of the XBian OS inside your Pi board, you may find that the Ethernet or the Lan cable is not working. You can try reconnecting or changing the LAN cable. If the problem is still there, connect to your Internet Service Provider (ISP). This internet connectivity issue is found on Raspberry Pi board 2.
Finally
The XBian is written in C++
that is very much a core language to get interacted with very primary types of machinery. And as the Raspberry Pi boards are mostly a huge combination of integrated circuits, so there is no doubt that the XBian OS will run smoothly on Pi boards. Besides that, nowadays, the combination of Raspberry Pi and XBian (mostly known as Kodi) is a trending method for Home theater PC (HTPC).
In this post, I have illustrated the primary and basic fundamentals of how to install and configure the XBian on Raspberry Pi boards. If you like this post, please do share this post on your social media. Also, write comments if you have anything to share with us regarding this post.
